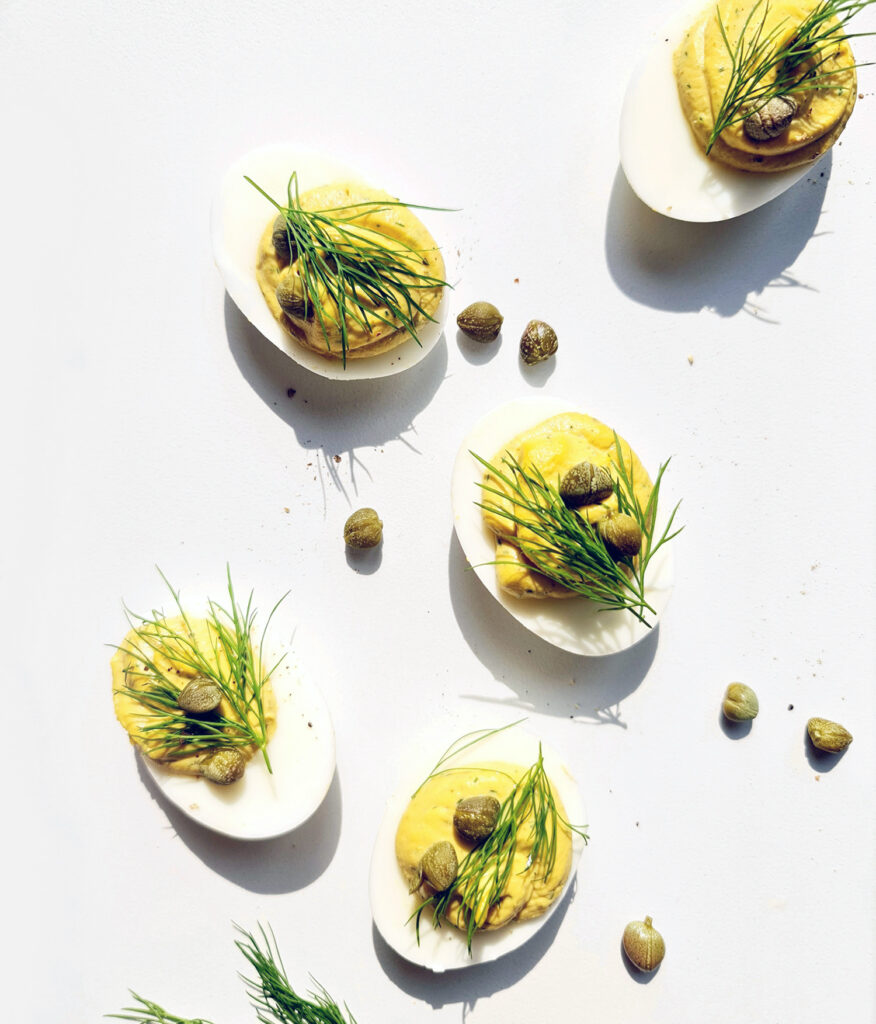
Deviled eggs are a classic, but this Tuna and Capers Deviled Eggs recipe takes them to another level. Combining the rich umami of tuna, the tang of capers, and the savory depth of anchovies, these appetizers are sure to please your guests—whether it’s Easter brunch, a family gathering, or a casual get-together. Inspired by Italian Salsa Tonnata, they deliver a sophisticated twist on a beloved favorite.
Jump to RecipeThis easy-deviled egg recipe is perfect for your Easter brunch spread and a great use for all those extra hard-boiled eggs you decorated. Whenever I make them, these deviled eggs disappear quickly, so if you have a larger gathering, you might want to double or triple the recipe.
Why Tuna, Capers and Anchovy?
- Tuna adds hearty, umami-rich flavor.
- Capers balance the richness with a briny, tangy bite.
- Anchovies enhance the complexity with their salty depth.
Together, these ingredients turn a simple appetizer into a gourmet experience. Don’t like anchovies? No worries – just adjust the seasoning to taste!
Perfect for Any Occasion
These deviled eggs are:
✔️ Elegant enough for formal gatherings
✔️ Easy for casual brunches
✔️ Unique for potlucks and showers
Incorporating tuna, capers and anchovy into your deviled eggs recipe is a simple way to add a twist to a classic, making it an unforgettable part of your culinary repertoire. Give this recipe a try, and watch as these flavorful appetizers become a requested dish at all your gatherings.
Tuna and Capers Deviled Eggs
Equipment
- 1 medium pot
- 1 electric mixer with a mixing bowl/cup/container
- 1 piping bag or a plastic Ziploc bag
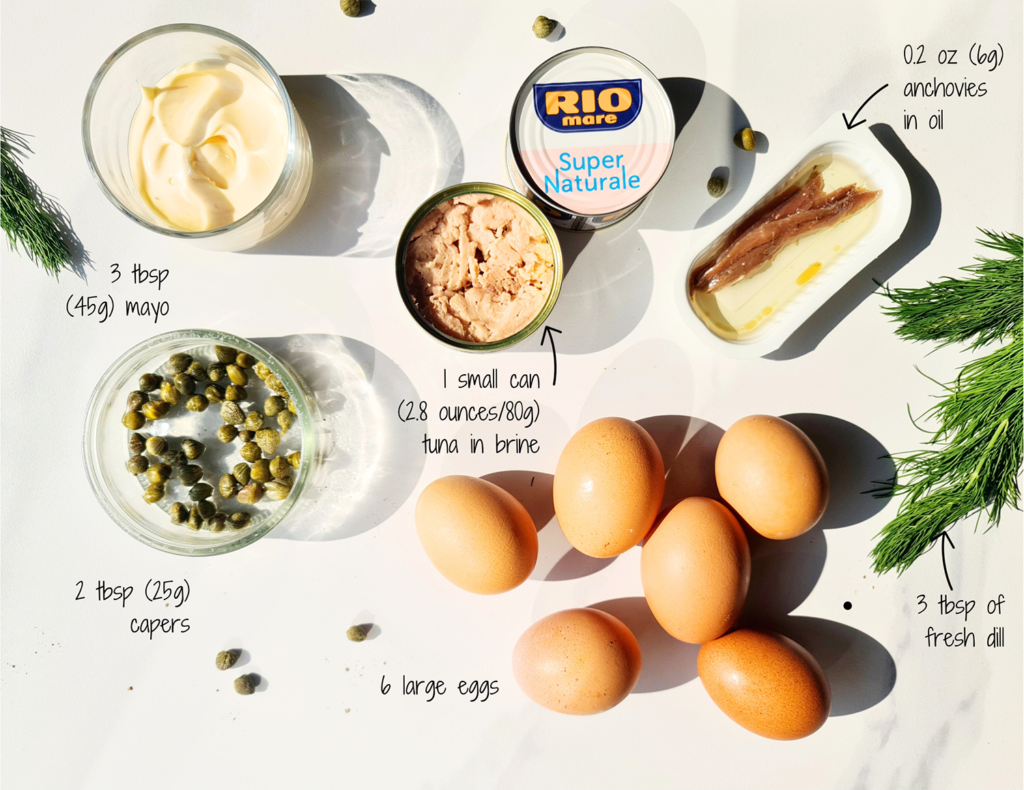
Ingredients
- 6 large eggs
- 1 small can (2.8 ounces/80g) of quality tuna in brine drained
- 3 tbsp (45g) mayonnaise pick your favorite one
- 1 tbsp (15g) capers drained
- 0.2 oz (6g) anchovies in oil (3 fillets) drained
- 2 tbsp of fresh dill
For garnish
- 1 sprig of fresh dill
- 1 tbsp (10g) capers
- freshly ground paper to taste
Instructions
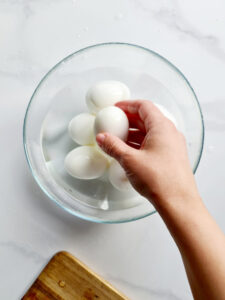
- Hard Boil the Eggs: Begin by placing the eggs in a large pot and cover them with cold water by 1 inch. Bring to a boil over medium-high heat and boil for 10 minutes for extra hard bouncy yolks, or you can use an egg cooker if you have one and pick the cooking mode corresponding to your model.
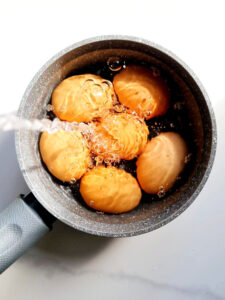
- After boiling the eggs, it is important to transfer them to an ice water bath to cool for at least 10 minutes. Please do not skip this cooling process, as it will aid in the peeling process and ensure that the eggs are smooth on the outside after peeling.

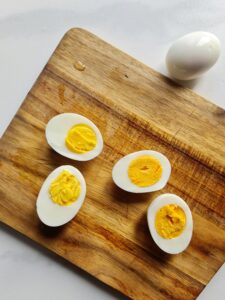
- Prepare the eggs: Once the eggs are cooled, peel them.

- I always rinse the eggs with water after pealing to avoid the tiny stuck shell pieces getting into the dish.
- Then, halve the eggs lengthwise and gently remove the yolks, leaving the whites intact.
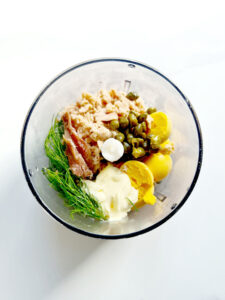
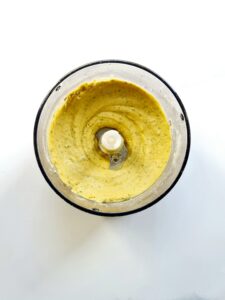
- Prepare the Filling: Place the egg yolks in a mixer bowl. Add tuna, mayonnaise, capers, dill, and anchovy to the yolks. Mash the mixture with a mixer until smooth.
- It is important to taste the mix to ensure the saltiness suits your taste, as capers may come with different levels of saltiness depending on the producer. If yours are already too salty – add about a tablespoon of water to the mass; otherwise, add a tablespoon of mayonnaise.
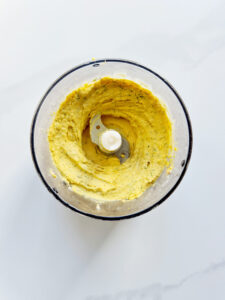
- Season with pepper to taste and blend again. This extra step is required to achieve a better taste and consistency, which should ultimately recemble thick mayonnaise.Please take note that if you don't have a mixer, you can still use a fork to mix your ingredients. However, this method may result in tiny bits remaining in the mix. Therefore, it is important to flake the tuna more thoroughly beforehand and finely chop the remaining ingredients. This process may take a bit more time, and the consistency may not come out perfectly smooth.
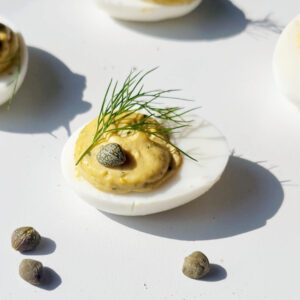
- Fill the Egg Whites: Put your filling mass into a piping bag or a plastic Ziploc bag where you can cut a corner and fill the egg white halves with the yolk mixture.
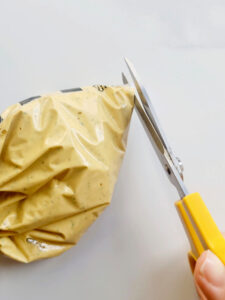
- The piping bag/Ziploc bag method will give a more professional appearance, and I recommend using it for a party table serving, but if you don’t have one or you are just cooking a quick casual snack for your family, a spoon works just fine for a rustic look.

- Garnish and Serve: Sprinkle each deviled egg with an herbal note of fresh dill. If you have extra capers, add one on top of each egg for an additional flavor and a finished presentation.
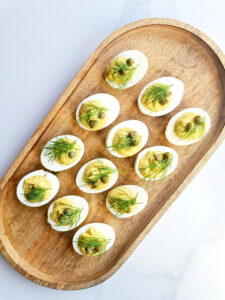
- Refrigerate Until Serving: These deviled eggs can be served right away, but if you chill them in the refrigerator for an hour, it can enhance their flavors and make them even more refreshing. Make-Ahead Tip: Prepare up to 1 day in advance and store in a sealed container. They’ll taste just as delicious the next day!


Leave a Reply